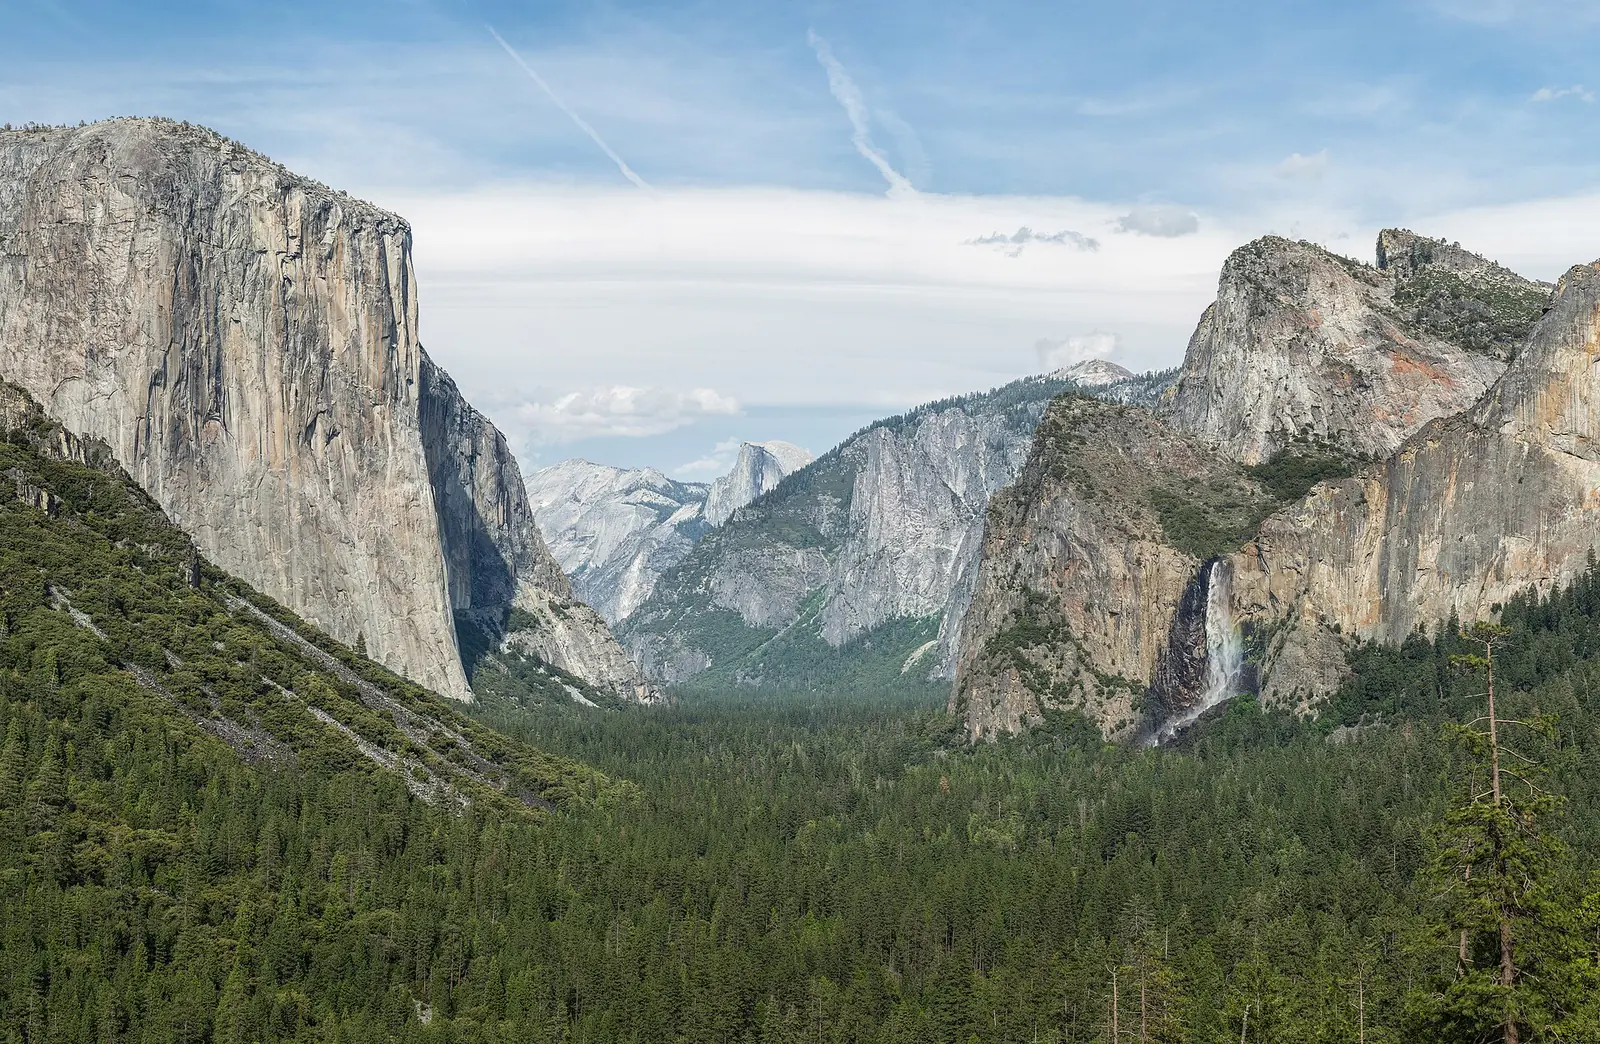
A short walk can still have stairs, a steep cross slope or a restroom you cannot use. For an accessible national park visit, trace the whole journey from parking or a bus stop to the experience and back. Yosemite, Shenandoah and Grand Canyon provide useful official access information, but each works differently. Use the measurements and service details to choose what suits you, rather than treating an accessibility symbol as a guarantee.

For visitors planning around wheelchair use, mobility equipment or other access needs. These examples support specific questions for the park; suitability depends on your equipment, preferences and current conditions.
Start with the details that change your day
Write a short access profile before contacting a park or lodging provider. Include your mobility device’s dimensions, whether you transfer, the surfaces and slopes you can manage, bathroom requirements and whether assistance will be available. If you need audio description, captioning, an assistive listening device or a quieter activity, put that in the same note.
Ask practical questions tied to one outing: is the route from accessible parking continuous, is there a curb or narrow gate, and is the nearest suitable restroom open? Ask about the return as well. An answer about a visitor center alone does not establish access along the trail beyond it. Keep a record of the route and the date the information was confirmed.
Yosemite: specify the eastern approach to Lower Yosemite Fall
The Lower Yosemite Fall loop is paved, but the two approaches differ. NPS describes the eastern approach as wheelchair accessible and gives 0.6 mile one way from the Yosemite Falls shuttle stop to the viewing area. The western approach has a short steep stretch near the viewpoint, including a 13.8% slope over the final 180 feet.
Plan the eastern out-and-back if that matches your needs rather than assuming the full loop is equivalent. The trailhead page notes no designated accessible parking immediately nearby; it describes a paved connection from accessible parking at the west end of Yosemite Village. That adds distance. Review the map, current surface conditions and restroom location before deciding whether to drive or use the Valley shuttle.
Shenandoah: read Limberlost’s measurements, not only its label
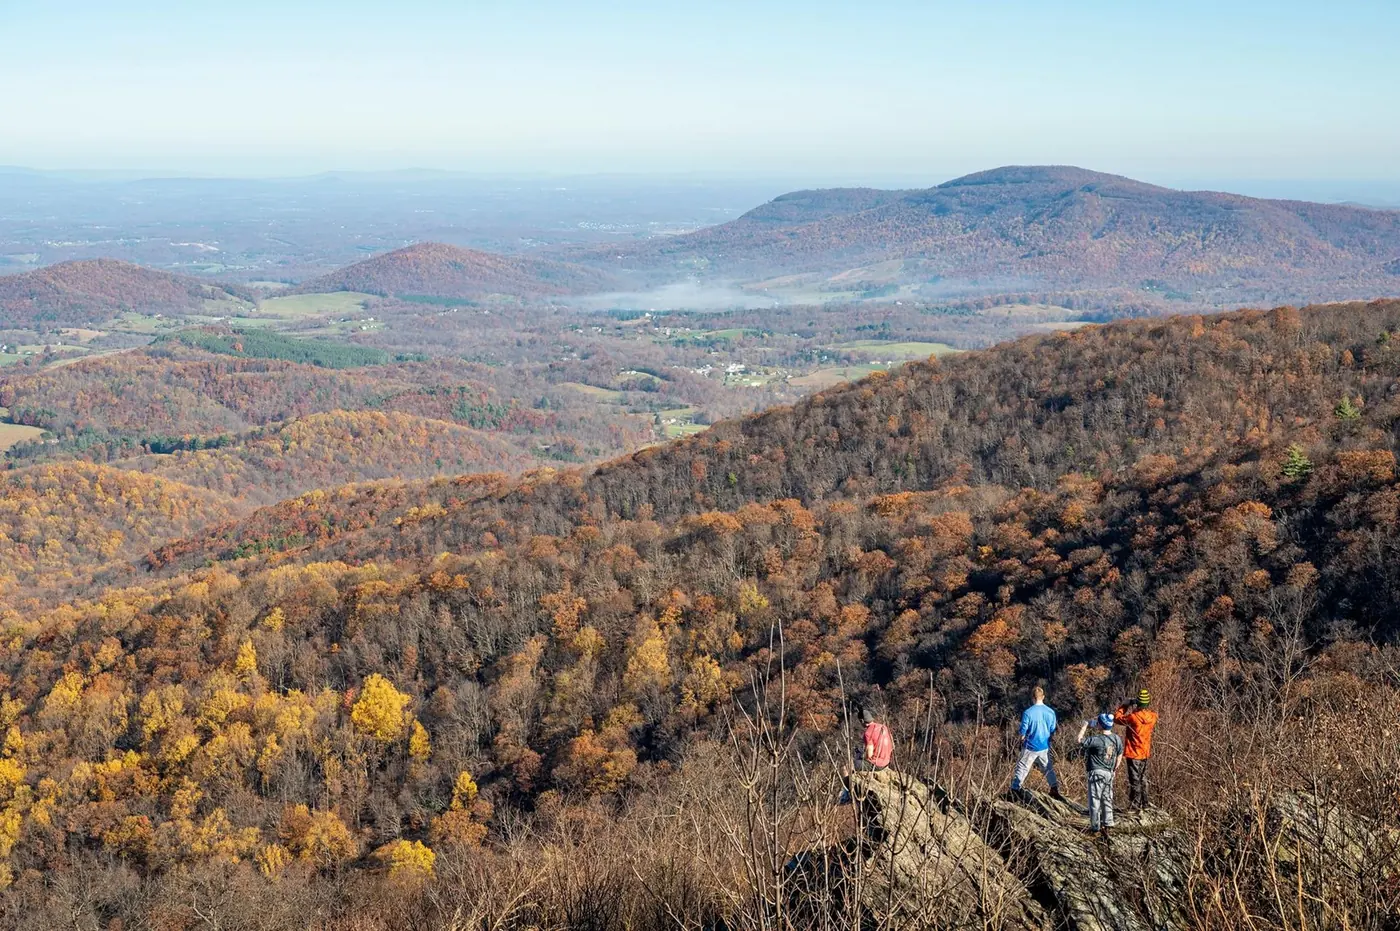
Limberlost is a 1.3-mile forest circuit from Skyline Drive mile 43. NPS calls it accessible and publishes more detail: primarily crushed greenstone, a typical width of five feet, a minimum width of 2.7 feet, and a maximum running slope of 10.3%. Those figures help you decide whether your equipment and assistance arrangement suit the outing.
Check current trail conditions before committing, particularly after weather that could change the surface. If you prefer to stay near your vehicle, Shenandoah says most Skyline Drive overlooks have accessible parking for enjoying the view from the car. Treat that as a different option, not proof that every overlook’s paths and facilities meet your requirements. The park also lists accessible lodging and visitor services.
Grand Canyon: check whether your device fits the shuttle
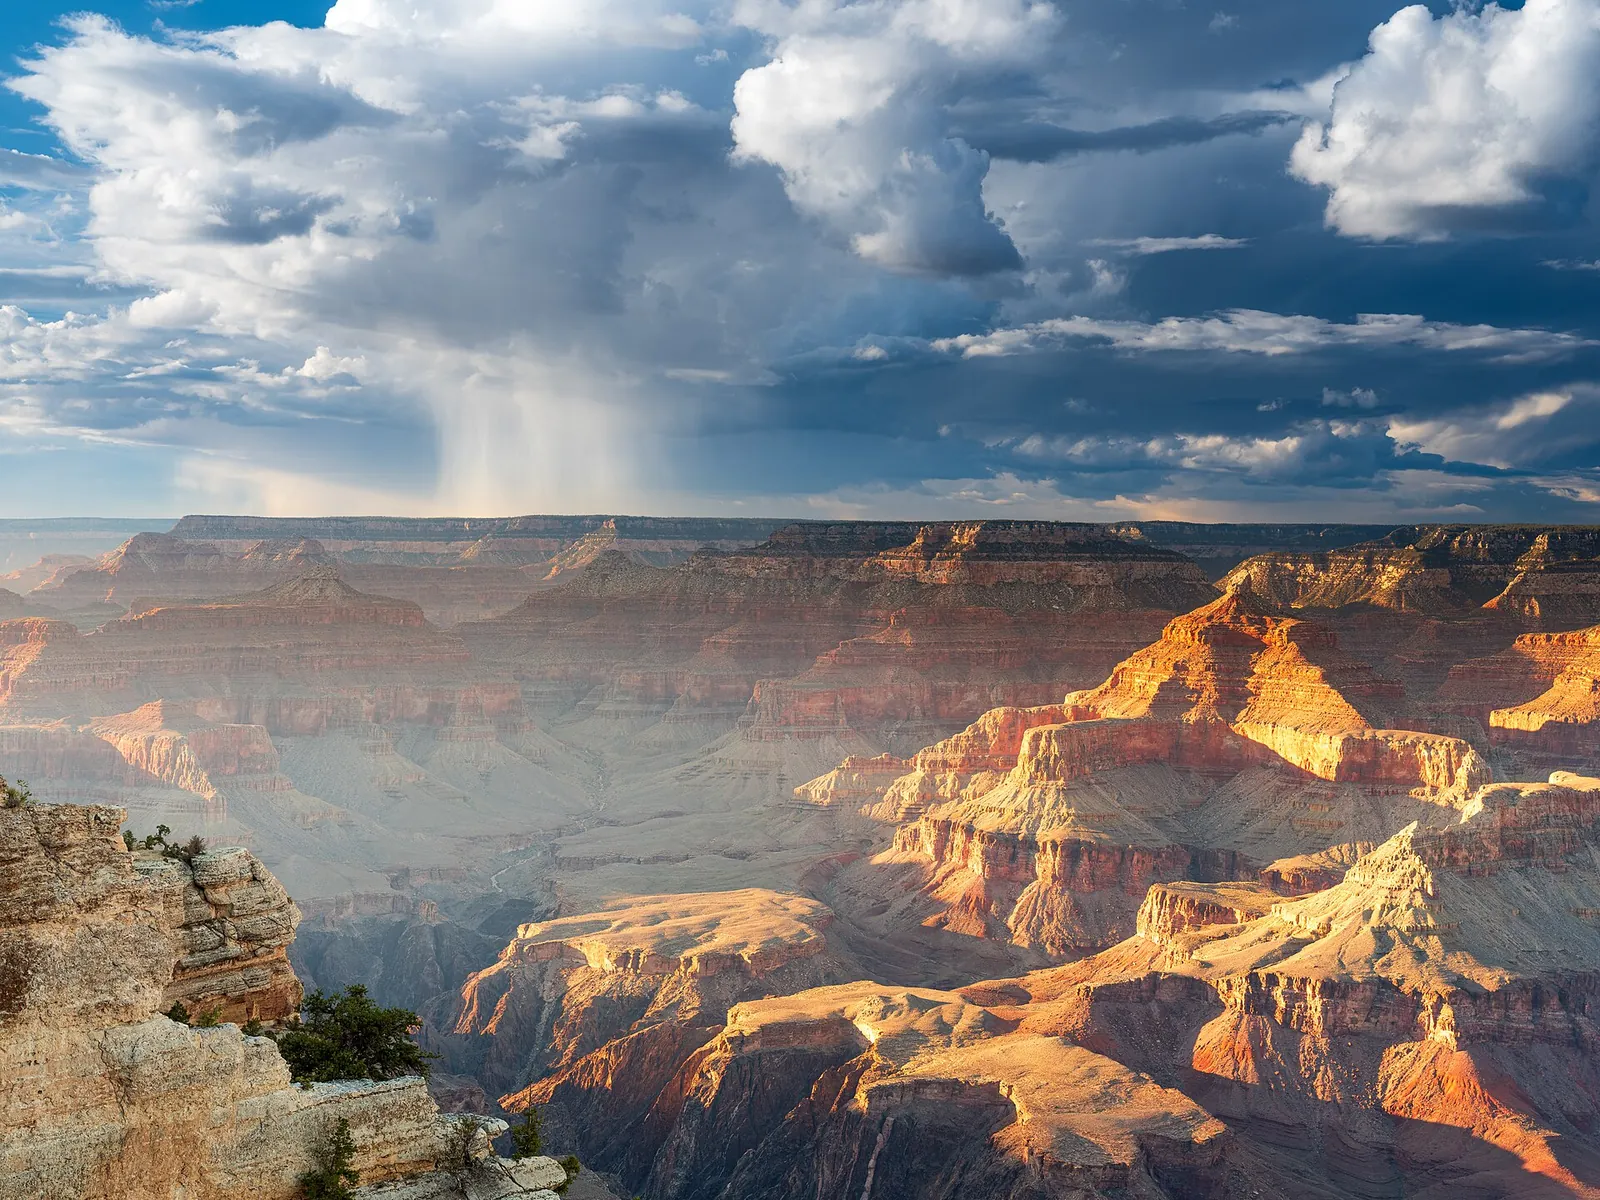
Grand Canyon’s shuttles have wheelchair ramps, but NPS lists a maximum wheelchair size of 30 inches wide by 48 inches long, or 76 by 122 centimeters, and says most motorized scooters will not fit. Measure your device before relying on a bus return. Verify the current requirements directly if you are close to the limit.
The park also offers a Scenic Drive Accessibility Permit for access to some roads closed to general traffic. Ask which route and conditions apply to your visit. This permit does not authorize parking in designated accessible spaces; that requires the appropriate state-issued parking permit. A driving option and a parking permission solve different parts of the outing.
Include the parts of accessibility a trail map cannot show
Yosemite provides Deaf Services information, a Braille brochure and adapted Junior Ranger activities. Shenandoah lists assistive listening devices at visitor centers and audio descriptions through the NPS app. Check availability and any advance arrangements for the experience you want. A program that works well for one access need may still require adjustments for another.
For lodging, confirm the exact room features rather than accepting “accessible room” as the whole answer. Ask about bed height, bathroom layout, thresholds and the route to food or parking, based on your own requirements. Request the relevant details before paying for a room that will be the base for every day’s activities.
Prepare a second version with the same reward
Choose the experience you want to keep if the original route does not work: waterfall scenery, time in a forest, or an interpreted canyon view. Then identify a nearby alternative with verified access. This is more useful than carrying a list of distant attractions that would restart the planning problem.
Recheck alerts, weather, transport and facility hours before setting out. Allow time for transfers, equipment and pauses without treating those as delays to a fixed sightseeing schedule. When the route fits, you can spend the visit on the landscape itself instead of negotiating the next obstacle.
Explore the parks in this guide
Official sources & trip checks
NPS: Lower Yosemite Fall Trailhead access details ↗NPS: Yosemite accessibility ↗NPS: Limberlost trail measurements ↗NPS: Shenandoah accessibility ↗NPS: Grand Canyon accessibility and shuttle dimensions ↗Sources checked October 23, 2026. Independently researched by Parkly; not a firsthand trip report. Route order, light preferences and pace are editorial suggestions. Check official conditions for your travel dates.
How we make recommendations ↗