For a first national park camping trip, choose a reservable, developed campground with the facilities you need, arrive while there is daylight and keep the first evening simple. Two nights in one site leave a full day for the park without packing the tent each morning.

For tent campers who want a first taste of sleeping in a park, with a car nearby. This is a developed-campground plan, not a backpacking or dispersed-camping guide.
Choose what makes you comfortable before choosing the view
Imagine the least glamorous part of the night: walking to a toilet in the dark, washing dishes or finding somewhere for a wet jacket. A beautiful campsite will feel different if those routines are awkward. Read the campground facilities and individual site details together. Drinking water, flush toilets, showers and electrical hookups are separate amenities; developed does not mean all four are available.
For a first attempt, our preference is a site with confirmed drinking water and toilets, a straightforward parking arrangement and a manageable journey to the day’s main outing. A walk-in site can mean carrying every bag from a parking area. Check the tent space and vehicle limits before paying, then save the site number and arrival instructions offline.
Upper Pines or Blackwoods: two different starting points
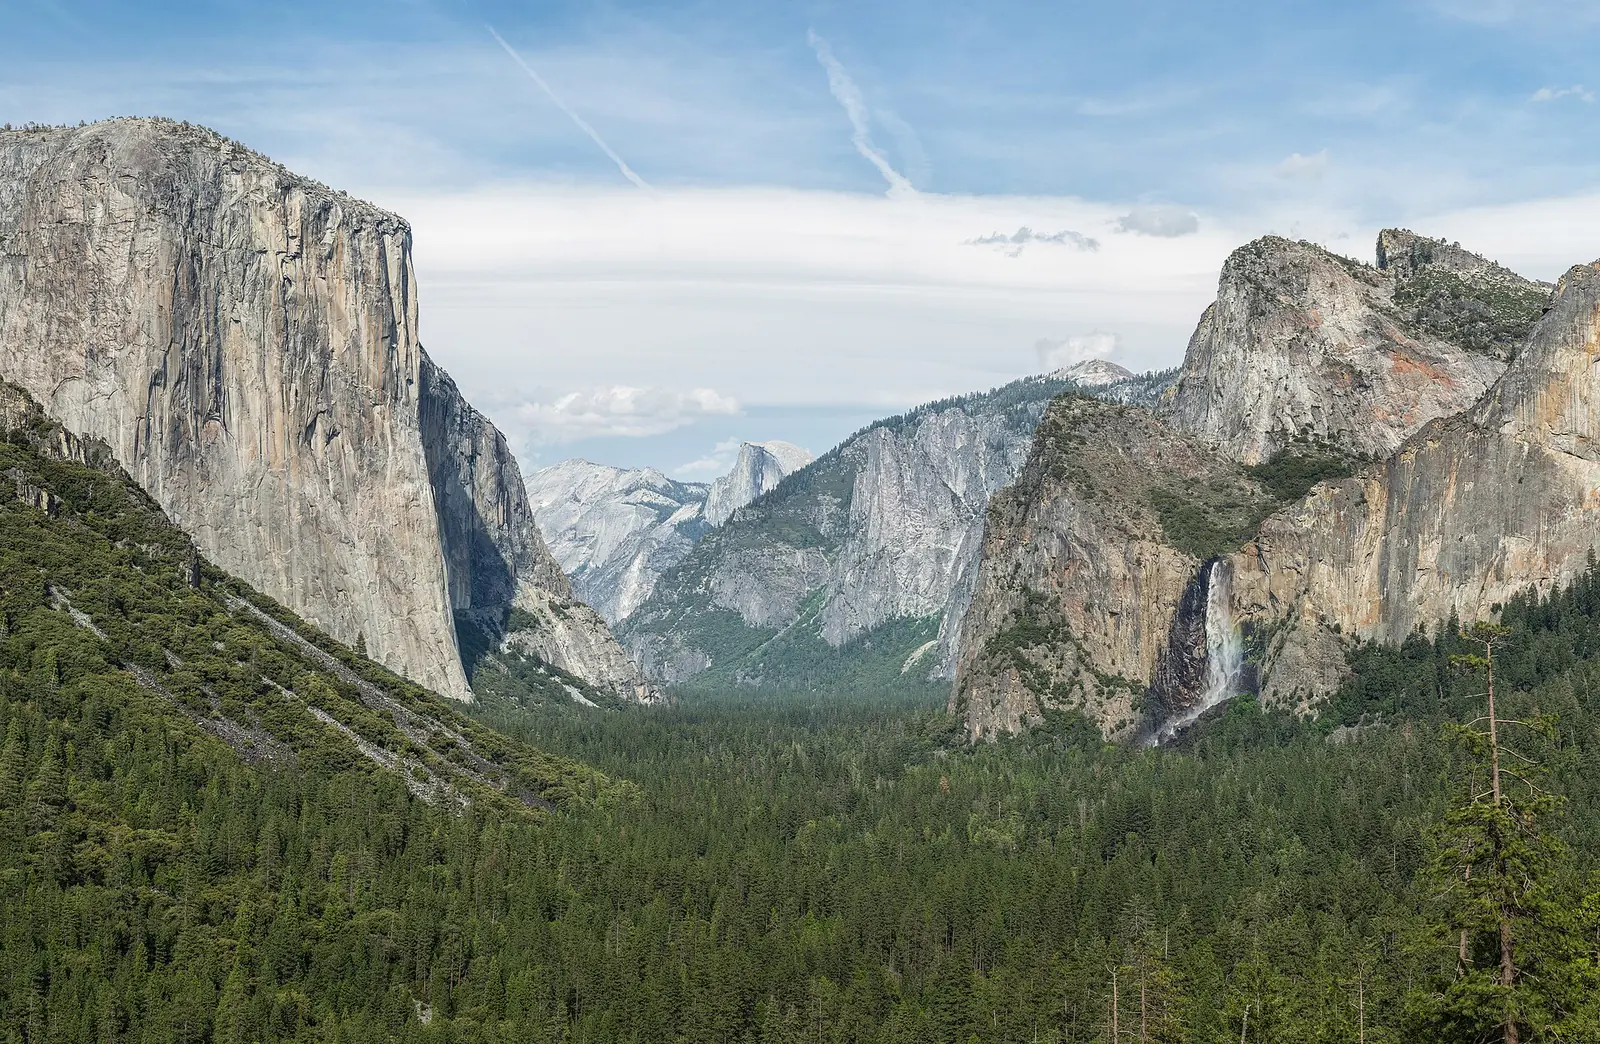
Upper Pines in Yosemite Valley suits a trip centered on Valley scenery. It has potable water, flush toilets and food lockers, but no showers within the campground and no individual electrical hookups. Reservations are required throughout the year. The useful advantage is the location; the trade-off is that a busy campground is a shared neighborhood, not a private forest hideaway.
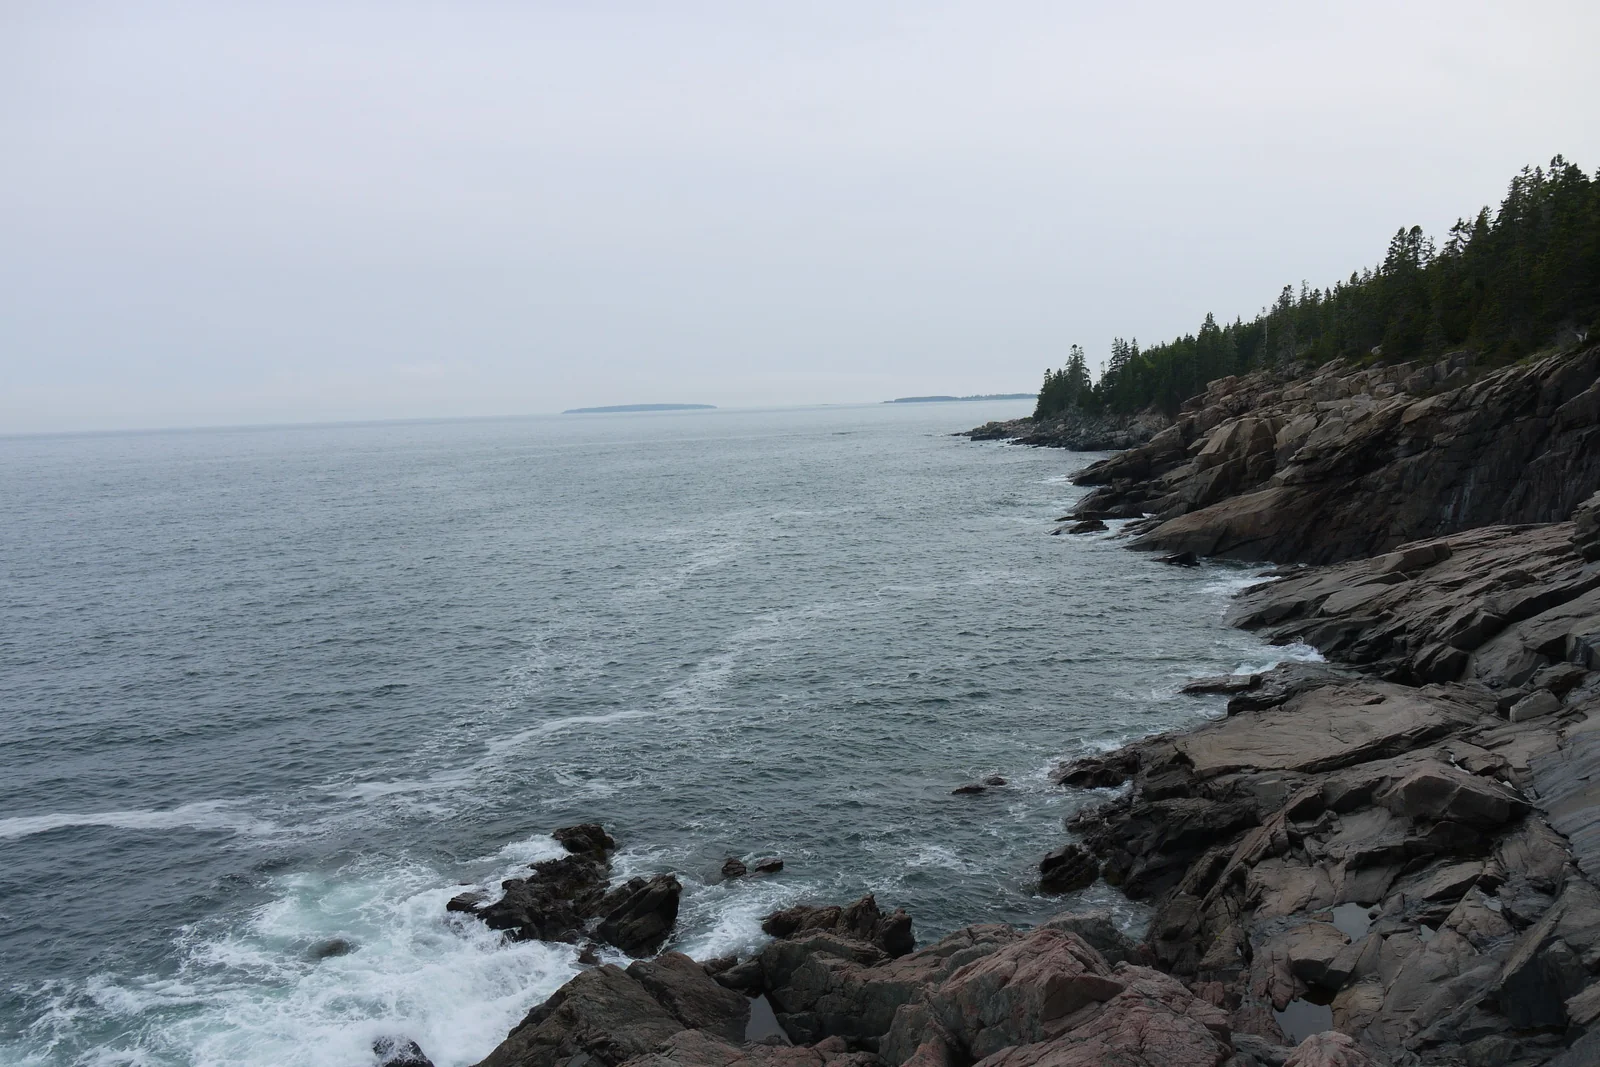
Blackwoods in Acadia offers wooded campsites and coastal outings nearby, with seasonal Island Explorer service. It has no campground showers; NPS identifies paid showers in nearby Otter Creek. Book through Recreation.gov and check its operating season. Neither example promises an easy reservation. If your dates are fixed, compare an available developed campground outside the park before turning your first camping night into a late search for space.
Try the sleeping setup at home
Pitch the tent once before leaving, including its rainfly, and check that the poles, stakes and closures work. Then lie down on the sleeping pad you will actually bring. A bag and pad matched to the forecast matter more to the first night than matching cups or elaborate camp furniture. Read the overnight forecast for the campground’s elevation, not just the nearest city.
Pack in the order you will use things: shelter and bedding accessible first, food and scented items together for storage, lighting within reach. If renting equipment, collect it early enough to understand the setup. A short practice night close to home can reveal whether you want warmer bedding or a different pad before the park trip.
Make arrival an activity of its own
After check-in, find the site boundaries, toilet, drinking-water point and required food-storage location. Check for overhead hazards and use the designated tent area where provided. Set up shelter and bedding before leaving for a viewpoint. Your arrival-day attraction is having a usable camp before darkness; a sunset stop is a bonus only when everything else is settled.
At Yosemite campgrounds, food lockers are required for food and scented items, including toiletries and coolers. Keep the locker latched and take out only what you are using. A closed car is not a substitute for the campground’s storage rules. Other parks have different instructions, so read the rules at your actual campground instead of applying one park’s system everywhere.
Choose a dinner that still works if plans change
Bring a simple meal, plus a no-cook alternative that your group will enjoy. If using a stove, practice beforehand and follow both the equipment instructions and current restrictions; cook outdoors, never in the tent. A fire is optional, and fire restrictions may rule it out. Do not make warm food depend on finding firewood after arrival.
Divide the jobs while it is light: one person prepares food, another organizes washing and storage. Clean promptly, dispose of wastewater only where permitted, and secure food and rubbish before sitting down for the evening. Respect quiet hours and keep lights aimed at your own site. A calm hour after cleanup is part of camping, not time that needs another activity.
Leave room for a slow first morning
Plan one nearby outing for the full day between nights. Have breakfast, put away food, check the weather and leave camp ready for your return. If sleep was poor, choose a short walk and a long break instead of forcing a demanding hike. You are learning which parts of camping you enjoy as well as visiting the park.
On departure morning, allow time for breakfast, cleanup and packing before checkout. Shake out gear without spreading debris into neighboring sites, check the locker and scan for small rubbish. If the tent is wet, pack it separately and dry it fully later. After the trip, note one comfort to improve and one piece of gear you never used; that is a more useful starting point for next time than buying everything at once.
Explore the parks in this guide
Official sources & trip checks
NPS: Frontcountry camping ↗NPS: Finding and setting up a campsite ↗NPS: Camping equipment and bedding ↗NPS: Cooking in camp ↗NPS: Yosemite Pines campgrounds ↗NPS: Yosemite food storage ↗NPS: Blackwoods Campground ↗Sources checked October 23, 2026. Independently researched by Parkly; not a firsthand trip report. Route order, light preferences and pace are editorial suggestions. Check official conditions for your travel dates.
How we make recommendations ↗